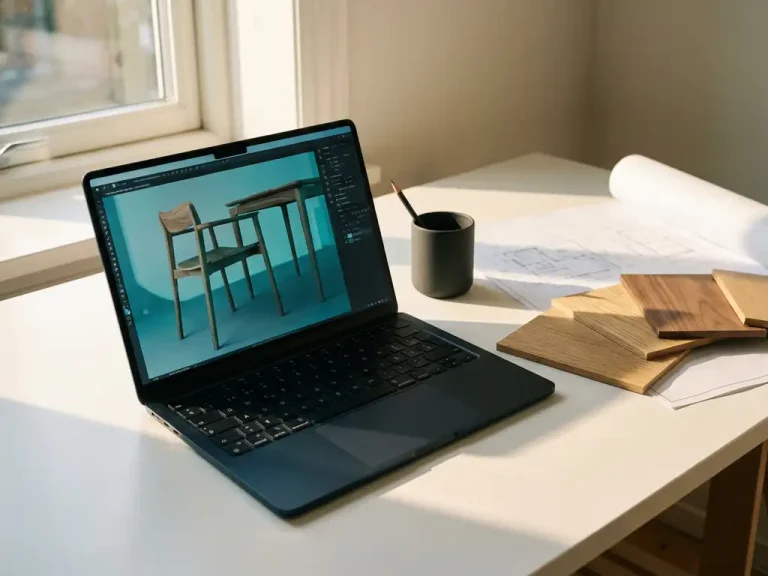
How do I draw a complete machine in 3D?
Designing a complete machine in 3D requires a systematic approach and the right software tools. Whether you want to draw a production line, industrial machine or complex mechanism, successfully modeling machines with 3D drawing software requires planning, technical knowledge and an understanding of mechanical principles.
In this article, we answer the most important questions that arise when 3D drawing machines, from the tools needed to common mistakes you can avoid.
What do you need to draw a machine in 3D?
To 3D draw a machine, you need professional CAD software, technical drawings or specifications of the machine, and knowledge of mechanical principles. In addition, a powerful computer and experience with 3D modeling are essential for complex machine designs.
The main requirements are:
- CAD software: Choose software that can handle mechanical designs and assemblies.
- Hardware: A computer with sufficient computing power, a graphics card and sufficient memory for complex 3D models.
- Technical Documentation: Existing drawings, specifications, dimensions and material properties.
- Knowledge of mechanics: Understanding of how parts move, how forces work and how connections function.
For more complex machines, you also need access to a component library of standard parts, such as bolts, bearings and motors. This saves a lot of time when modeling repetitive elements.
How do you start designing a machine in CAD software?
Start by creating a main assembly and defining the main dimensions and reference points of your machine. Next, start modeling the frame or base, as this forms the structural foundation upon which all other parts will be placed.
Follow these steps for a structured approach:
- Create a project structure: Organize files into folders for parts, assemblies and drawings.
- Define the coordinate system: Determine the origin and orientation of your machine.
- Model the main frame: Start with the largest and most stable structure.
- Add reference surfaces: Create auxiliary surfaces for positioning parts.
It is crucial to think about how components are connected from the beginning. This will help you later in defining movements and preventing interferences between components.
What parts do you draw first in a machine design?
Draw the frame or basic structure first, followed by the main components, such as motors and transmission elements. Then work from large to small: first the primary mechanisms, then the secondary components, and finally the fasteners and finishing details.
The ideal order is:
- Base frame and foundation: The structural base that absorbs all forces.
- Drive: Motors, gearboxes and main shafts.
- Moving mechanisms: Guides, cylinders and actuators.
- Transmission elements: Gears, belts and clutches.
- Auxiliary components: Sensors, cabling and control panels.
- Fasteners: Bolts, nuts and brackets.
By keeping this order, you can position each component correctly in relation to the components already drawn. This will prevent you from having to make major adjustments to the assembly later.
How do you make moving parts and mechanisms in 3D?
You create moving parts by defining kinematic connections between components, such as pivot points, sliding joints and rotary axes. Use the motion study functionality of your CAD software to simulate motion and detect interferences.
For modeling motion, these steps are important:
Define connection types
For each moving part, determine what type of connection it has: rotation around an axis, linear motion along a guide or more complex motions, such as planetary rotations.
Set movement restrictions
Define the limits of each motion, such as maximum angles for rotations or end positions for linear motions. This prevents unrealistic positions during simulations.
Test the kinematics
Use motion studies to verify that all parts move correctly without interference. Pay particular attention to critical points where parts are close together.
It is essential to consider tolerances and clearance between moving parts from the beginning. This will ensure that your machine will also function properly in practice.
What are common mistakes when drawing machines?
The most common errors are inadequate planning of the assembly structure, ignoring tolerances and clearances and not checking for interferences between parts. The lack of a clear naming convention for files also often leads to confusion in complex projects.
Common mistakes and how to avoid them:
- Poor file organization: Use consistent names and folder structures from the beginning.
- No tolerances: Always consider production tolerances and assembly clearance.
- Interference problems: Periodically check that parts are not touching or overlapping.
- Missing material properties: Define material types for weight and strength calculations.
- No backup strategy: Make regular copies of your work and use version control.
Another common mistake is to model in too much detail parts that are not critical. Focus on functionality first and add cosmetic details later.
How IronCAD helps with 3D machine drawing
IronCAD offers a revolutionary approach to 3D drawing complex machines by combining intuitive drag-and-drop functionality with powerful assembly tools. The unique TriBall™ technology allows you to easily position and reposition parts, while the integrated library of standard components speeds up your design process.
Key benefits for machine design:
- Flexible modeling: Combination of parametric and direct modeling in one environment.
- Fast assembly: Drag-and-drop components directly into your design.
- Motion simulation: test moving mechanisms before producing.
- Integrated library: Access to thousands of standard parts and fasteners.
- Automatic output: Instantly generate saw lists, NC code and production reports.
Want to experience how IronCAD takes your machine designs to the next level? Contact us for a personal demonstration and discover the possibilities for your specific projects.