
Introduction Manual
Find your way around IronCAD using these installation guidelines and help videos. For a great first start with the software, so you too can get everything out of it.
Navigate quickly to: IronCAD installation., Para-Flex installation, Video tutorial, Academies, FAQ videos
IronCAD Installation
Coming soon
Installation Para-Flex
Below are step-by-step instructions on how to install Para-Flex trial version correctly.
- 01 - Start screen
- 02 - Language selection
- 03 - Data download
- 04 - Data installation
- 05 - Start IronCAD
- 06 - Catalogs
- 07 - Activate
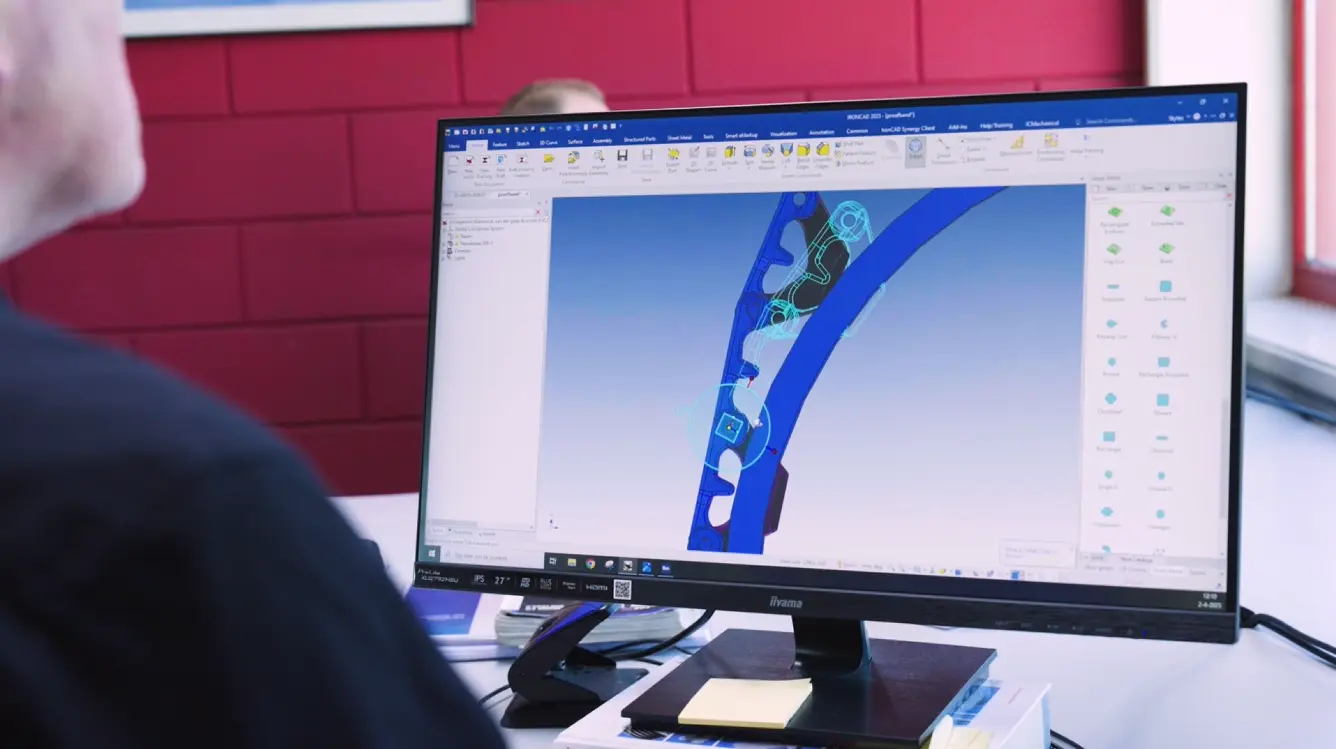
When installing Para-Flex, the window below will open. Click on“Next.

Choose the desired language at‘Select language‘ and click‘Next‘.

Sample data is now being downloaded. Please wait for completion.

Sample data will be installed. Click“Finish.

Continue starting IronCAD and open emtyScene 3D file from C:Para-Flex (Or location as self-designated in wizard)

Go to the Common menu bar and click Catalog Set, select Para-flex, click Open and then Done.

From then on, Para-Flex is fully usable by clicking the Para-Flex button on the Add-Ins menu bar .

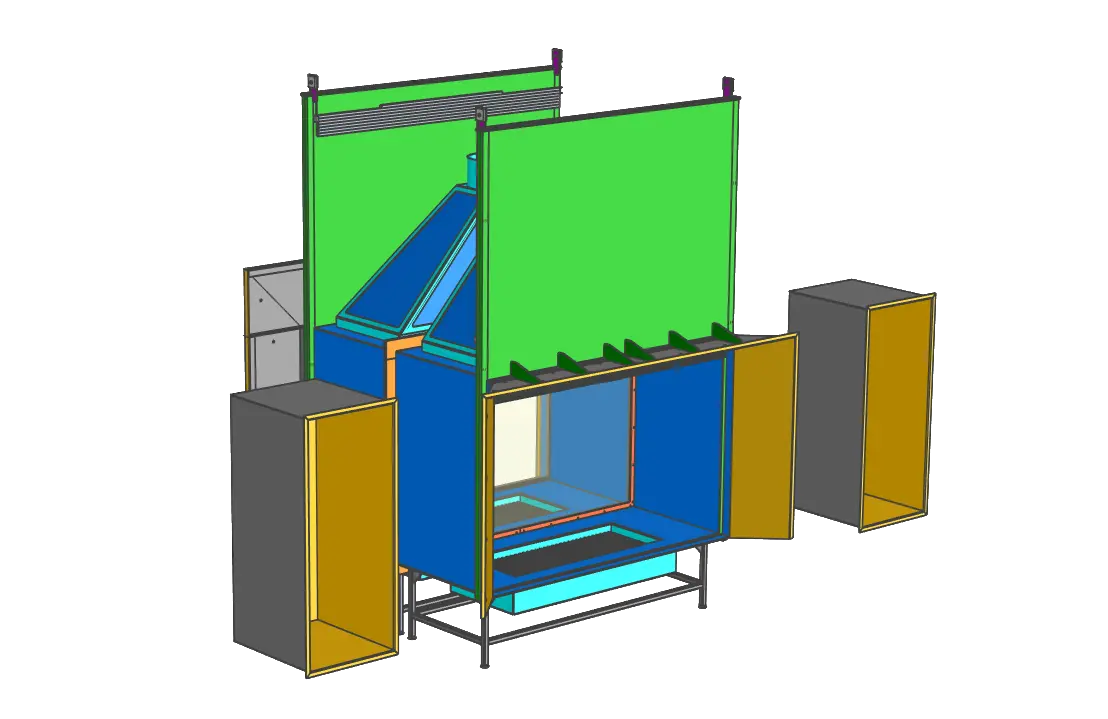
Figure 1

Figure 2
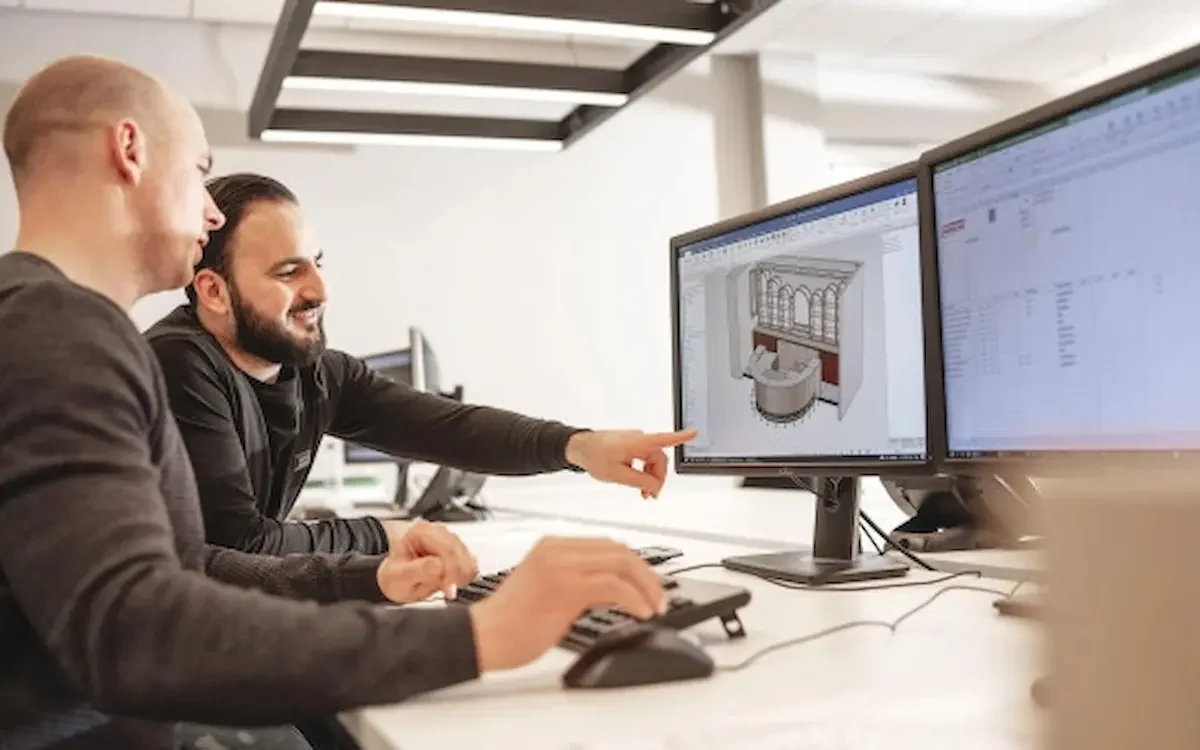
Video tutorial
Follow the video below to create your first design with IronCAD and Para-Flex.
IronCAD Academy
Hundreds of training videos to help you learn IronCAD. All buttons and features highlighted and from beginner to advanced training videos.
Para-Flex Academy
Explanation of the design guidelines and basics of Para-Flex. With a detailed explanation of each button’s operation and functionalities.
FAQ videos
A video series with the most frequently asked questions in the search for a (new) CAD package will follow here soon.
Contact
Can’t figure something out? We are here for you. Just fill out the contact form.
End-user experiences
Lumacon B.V.
Flexible custom structures in stainless steel, from fish processing to machine building.

Interieur Oost
Fast and flawless high-end customization from design to CNC.
The Salamander
From custom fireplaces to metal design, all produced in-house.

Van Keulen Interieurbouw
Custom solutions for retail and projects with maximum efficiency.
Clean2Anywhere
Shipbuilding and housing construction from waste plastic, for a sustainable and inclusive future.

De Jongh Metal
Custom steel structures, tightly drawn and prepared for production.
Van der Lee Interior Construction
Custom furniture with personalized approach and efficient 3D working method.
Harmeling Interieurs
Strong in durable custom interiors, serial and custom.