
How do I show a client a 3D interior design?
Presenting a 3D design to clients is a crucial moment in any interior design project. A well-presented 3D design can make the difference between an enthusiastic client who gives immediate approval and one who has doubts about your vision. With the right techniques and tools, you can present your interior designs so realistically and convincingly that clients can immediately visualize what their space will look like.
Successful 3D presentations go beyond simply showing a pretty picture. It’s all about creating an experience that makes the client feel emotionally connected to the design. In this article, you’ll discover how to make the most of 3D rendering for compelling interior design presentations.
Why is 3D visualization important for interior design presentations?
3D visualization is essential because it helps clients fully understand spatial proportions, material combinations, and the overall atmosphere of an interior before construction begins. Traditional 2D drawings leave a lot of room for interpretation, whereas 3D visualizations provide a concrete representation of the final result.
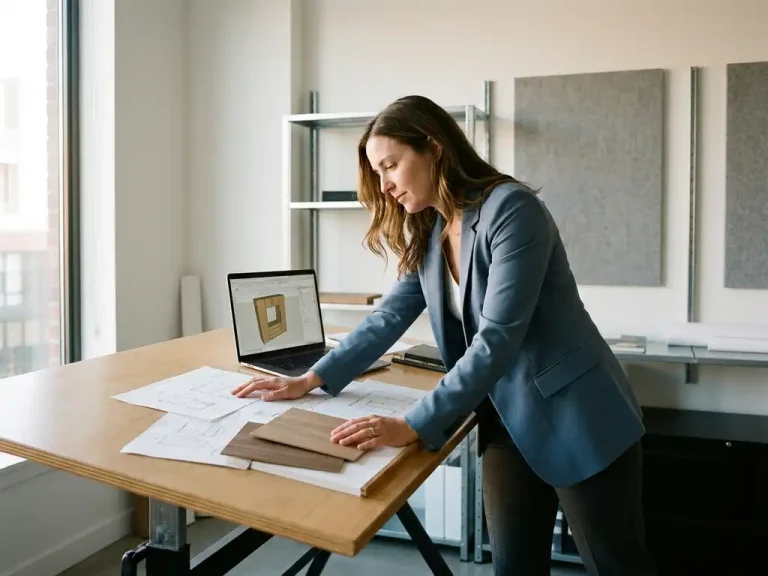
The biggest advantage of 3D visualization lies in communication. Clients often find it difficult to visualize what a space will look like based on floor plans or sketches. A realistic 3D rendering eliminates misunderstandings and ensures that everyone involved has the same expectations. This saves time, prevents costly changes during construction, and significantly increases customer satisfaction.
In addition, 3D visualization makes it possible to quickly show different options. You can easily adjust colors, materials, or furniture placements and immediately see the result. This interactive element gets customers more excited and makes them feel actively involved in the design process.
What is the best software for 3D interior presentations?
The best software for 3D interior presentations combines user-friendliness with powerful visualization capabilities, allowing you to quickly create realistic renders without extensive technical knowledge. Popular options include SketchUp, 3ds Max, Blender, and specialized interior design software such as Home Designer or Sweet Home 3D.
When choosing software, you need to consider several factors. First, your experience and learning curve: some software packages are more intuitive than others. Second, the desired output: do you need static images, or do you also want to create animations? Third, integration with other tools in your workflow, such as CAD software or project management systems.
For professional interior design projects, it’s important that the software can handle precise measurements and offers export options to other formats. The availability of material libraries and furniture catalogs can also significantly speed up your workflow. Also, consider whether you need cloud-based rendering for complex scenes, or if local rendering is sufficient.
How do you create realistic materials and textures in 3D designs?
Realistic materials and textures are created by correctly configuring surface properties such as reflection, roughness, gloss, and transparency, combined with high-quality texture maps that mimic the actual properties of materials. The quality of your material library largely determines how convincing your 3D design appears.
Start by gathering reference material. Take photos of real materials under different lighting conditions and study how they look. For example, wood has a different sheen than laminate, and natural stone shows more variation in color and texture than polished tiles. These details make the difference between an amateurish and a professional-looking design.
When setting up materials, pay attention to the correct proportions and repeat patterns. A wooden floor should have realistic plank sizes, and tiles should show the correct grout lines. Use displacement maps for textured materials and ensure consistent lighting that makes the materials look natural. Test different render settings to find the optimal balance between realism and render time.
What are the best ways to present 3D designs to clients?
The best presentation methods combine multiple visualization techniques: static renders from different angles, interactive walkthroughs, and close-ups of specific elements, presented in a structured sequence that tells the story of the design. Always start with an overview image and then zoom in on specific areas.
Choose your camera angles strategically. Show the space from the perspective of someone walking into the room, and also include a bird’s-eye view to provide an overview. Use different times of day and lighting scenarios to show what the space looks like during the day and in the evening. This gives customers a complete picture of how they’ll experience the space.
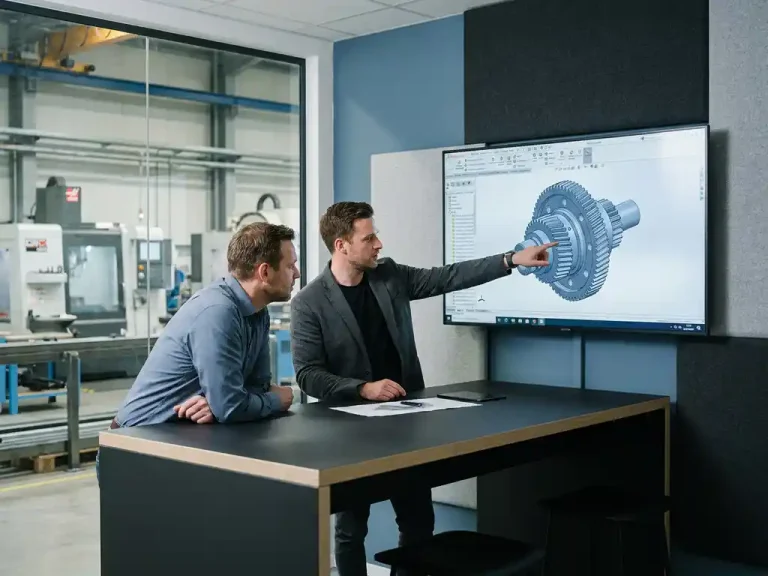
Don’t just present the final result—also tell the story behind your design choices. Explain why you chose certain materials and how the different elements relate to one another. Use annotations or callouts to highlight specific features. Encourage interaction by asking clients about their preferences and letting them watch as you make small adjustments.
How can you avoid common mistakes in 3D interior presentations?
Common mistakes in 3D interior renderings include incorrect proportions, unrealistic lighting, materials that are too perfect and lack variation, and ignoring practical aspects such as electrical outlets and light switches. Avoid these mistakes by always working with accurate dimensions and real-world reference materials.
A major pitfall is creating spaces that look too perfect. Real interiors always have small imperfections: slight variations in the color of wood, lines that aren’t perfectly straight, and natural wear and tear. Incorporate these subtle details to create authenticity. Also pay attention to the scale of textures and make sure patterns aren’t too large or too small for the actual application.
Don’t forget the practical aspects of living. Show where the lighting is, how doors open, and where people walk. Clients need to be able to assess whether the design is functional for their daily use. Test your design by running through different scenarios: where would someone be standing when the cabinet opens, is there enough space to move around comfortably, and is the ergonomics of the workspaces appropriate?
How IronCAD Helps with 3D Interior Presentations
IronCAD offers a powerful solution for creating compelling 3D interior presentations thanks to its intuitive drag-and-drop interface and advanced visualization capabilities. With our software, you can quickly and flexibly create designs that are immediately ready for professional presentations to clients.
The benefits of IronCAD for interior design presentations:
- Intuitive TriBall™ visualization tool for easy object manipulation
- Extensive material library with realistic textures
- Quick adjustments during client presentations
- Seamless integration between 2D drawings and 3D models
- Automatic Generation of Technical Documents
With IronCAD, you can make changes on the spot during a client meeting and show the results immediately. This interactive element makes presentations much more dynamic and helps clients make decisions faster. Want to discover how IronCAD can take your interior design presentations to the next level? Contact us for a personalized demonstration.