How do I check a cutting list for errors before I go to the workshop?
You can check a cutting list for errors by systematically comparing measurements, quantities, and material specifications with the corresponding design, preferably before you cut even a single piece of wood or sheet material. The most reliable way to prevent errors in a cutting list is to use software that automatically generates the list from the 3D model, thereby largely eliminating human input errors. In this article, we answer the most frequently asked questions about checking and ensuring your cutting list is error-free.
What are the most common errors in a cutting list?
The most common errors in a cutting list are incorrect dimensions due to manual entry, missing parts because not all components were included, duplicate lines due to copying errors, and incorrect material specifications. Mixing up length and width is also a classic mistake that isn’t noticed until on the shop floor, resulting in wasted material and time.
Errors in a cutting list rarely occur by chance. They almost always have a recognizable cause:
- Manual transcription errors: Dimensions are copied incorrectly from a drawing or calculation.
- Outdated versions: The cutting list is based on a design that has since been modified.
- Missing parts: Small components such as divider shelves or fasteners are often overlooked.
- Incorrect units: Millimeters and centimeters are used interchangeably.
- Duplicate entries: The same item appears twice in the list because it was copied.
The danger of these errors is that they often don’t become apparent until on the shop floor, by which time the material has already been cut. Checking early on not only saves on material costs but also spares you the frustration of having to start over.
How do I automatically check measurements and quantities for errors?
You can automatically verify dimensions and quantities by generating your cutting list from a 3D model or parametric design. Software that generates a cutting list directly from the model automatically compares all dimensions with the model data. This eliminates the need for manual checks for input errors, since the source and the output are linked.
When the cutting list is generated automatically, there are a few checks you can still perform yourself to be sure:
- Compare the total number of parts in the cutting list with the number of components in the model.
- Verify that the material codes match the sheet materials used in the design.
- Have the software perform sheet optimization and check whether all parts fit within the specified sheet size. Parts that do not fit indicate a sizing error.
- Check the netting list or bill of materials to ensure the order is logical: large parts before small ones.
With manually created cut lists, automatic verification is more difficult. In this case, it helps to have a second person review the list or to use a simple spreadsheet that calculates totals and discrepancies.
What is the difference between a manual cutting list and a CAD-generated cutting list?
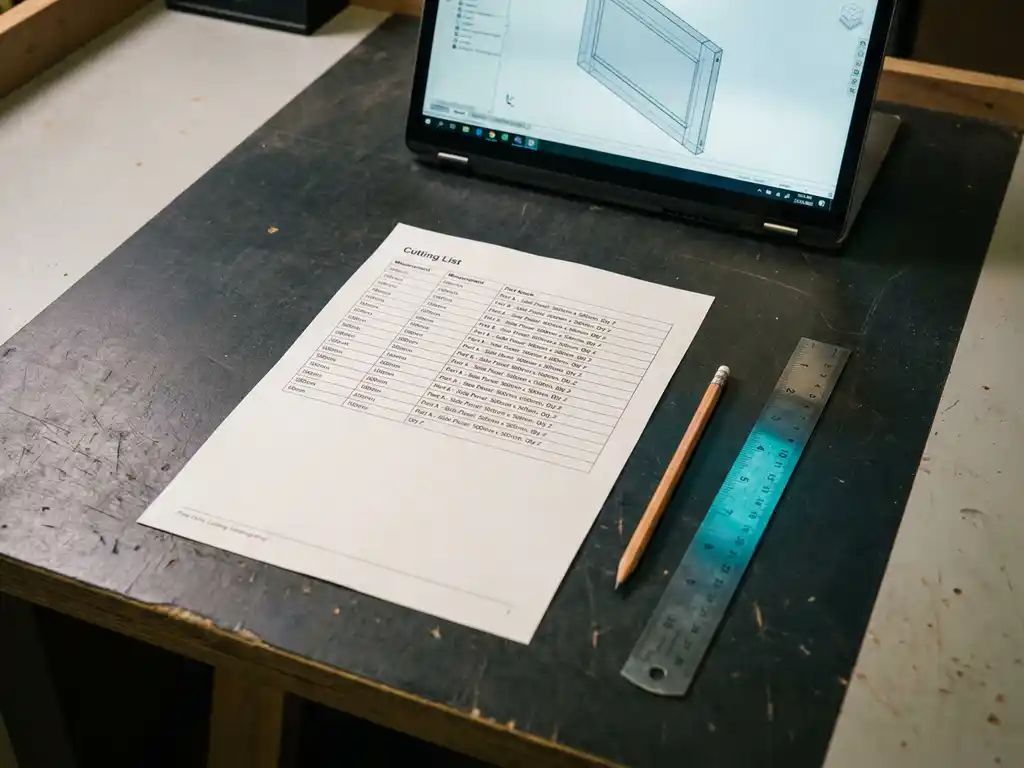
The main difference is the reliability of the data source. A manual cutting list is prepared by a person based on drawings or measurements, which leaves room for input errors and differences in interpretation. A CAD-generated cutting list is exported directly from the digital model, ensuring that dimensions and quantities always match the design, as long as the model is correct.
Manual Sawing List
With a manual cutting list, someone types or writes down all the parts, dimensions, and quantities from a drawing or from memory. This is time-consuming and prone to errors. Any change to the design also requires a manual adjustment to the list. As a result, there is always a risk that the cutting list will be outdated or incomplete.
CAD-generated cutting list
A CAD software package automatically generates the cutting list based on the 3D model. All parts, dimensions, and material specifications are extracted directly. If the design changes, the cut list is updated accordingly after a recalculation. This eliminates most data entry errors and ensures consistency between design and production.
How do I know if my cutting list matches the latest design?
You can be sure that your cutting list matches the latest design if both documents were generated from the same, up-to-date version of the model file. The simplest way to check is to compare the date and version number of the design with the date the cut list was created. If they don’t match, you may be working with outdated data.
Practical steps to ensure this:
- Always use a version control system for your designs, even if it’s a simple one.
- Always regenerate the cutting list after a design change; never reuse previously generated lists.
- Add a revision date to both the design and the cutting list so that the relationship between them is clear.
- Save the cutting list in the same folder as the corresponding model file so that they always stay together.
In industries such as furniture and interior design, where custom work is the norm and designs are regularly adapted to meet customer preferences, this issue is particularly critical. Even a small change in a dimension can have major consequences for how parts fit together.
What steps do I follow when performing a manual final check?
During a manual final inspection, you go through the cutting list step by step based on the design. You check each component for the correct dimensions, the correct quantity, the correct material type, and the correct cutting direction or grain. A structured approach prevents you from skipping steps due to time pressure or routine.
Use the step-by-step guide below as a basis for your final inspection:
- Compare Totals: Count the number of lines in the cutting list and compare it to the number of components in the drawing or model.
- Check critical dimensions: Start with the largest parts. Errors in large panels have the greatest impact on material consumption.
- Verify quantities: For each item, check whether the specified quantity matches the production order or customer request.
- Check material codes: Make sure each part has the correct sheet thickness, color, or finish.
- Check the grain or direction: Parts with visible grain or patterns require a cutting direction that must be listed.
- Have someone else take a look: A second pair of eyes will spot mistakes that you, as the writer, might overlook.
Be sure to set aside enough time for the final inspection. An inspection carried out under time pressure is hardly any more effective than no inspection at all. Plan the inspection as a standard step in the production process, not as an optional extra.
How IronCAD Helps Prevent Errors in Your Cutting List
IronCAD offers a direct solution to the most common causes of errors in a cutting list. Because the cutting list is automatically generated from the 3D model, manual input errors are systematically avoided. If the design changes, the output updates immediately.
- Automatic generation of cutting lists directly from the 3D model, without manual data entry.
- Sheet optimization that immediately shows whether all parts fit within the specified material size.
- Automatic NC code output ensures that the cutting list and the machine instructions are always in sync.
- Purchasing lists and bills of materials that are generated from the same model, ensuring that all documents are consistent.
- A design that can be quickly modified without complex version history structures, after which the cutting list can be regenerated immediately.
Would you like to see how this works for your production process? Contact us, and we’d be happy to show you how IronCAD can make your cutting process more reliable and faster.