How do I create a 3D visualization of a custom kitchen for a client presentation?
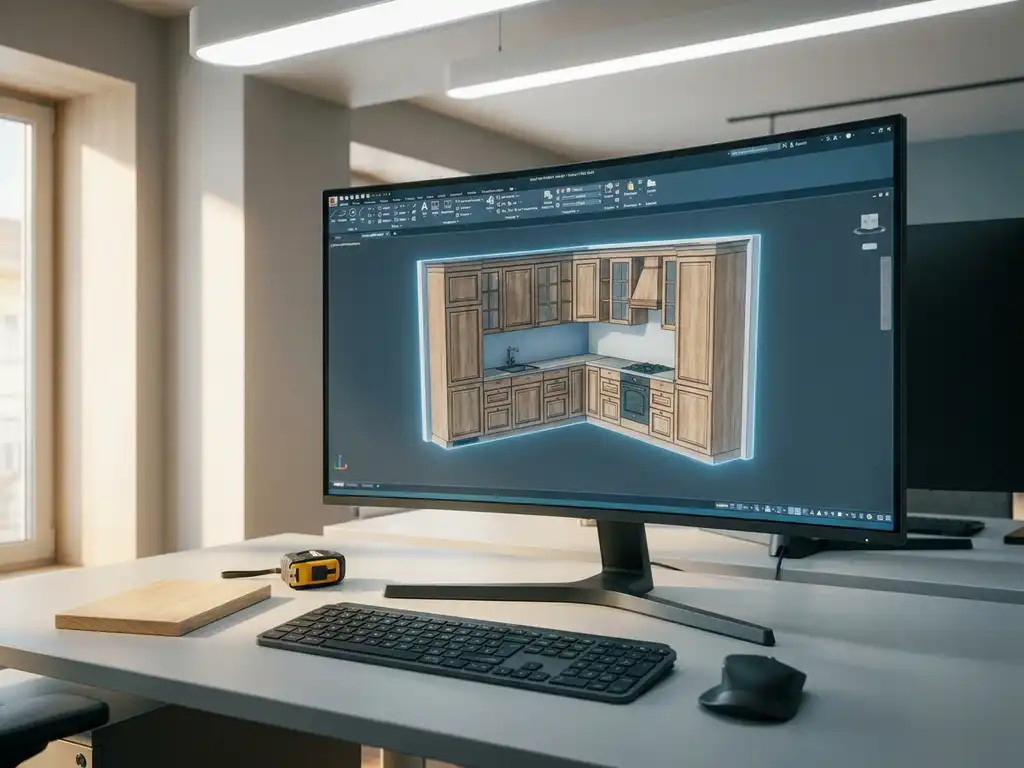
You can create a 3D visualization of a custom kitchen by building a detailed 3D model in CAD software, incorporating the kitchen’s exact dimensions, materials, and finishes. The result is a photorealistic image that shows customers exactly what their kitchen will look like, even before a single board has been cut. In this article, we answer the most frequently asked questions about this process, from choosing software to incorporating last-minute changes.
What software do you use for 3D kitchen visualizations?
For a professional 3D visualization of a custom kitchen, it’s best to use a parametric CAD software solution that supports both precise measurements and free-form design. The best choice depends on your work situation: if you work with wood and sheet materials, your needs will differ from those of a metalworker. What matters is that the software is quickly customizable, intuitive to use, and generates output that’s immediately usable in production.
Good CAD software solutions for kitchen visualization typically offer the following features:
- Parametric design, so that dimensions can be easily adjusted
- Material and texture libraries for realistic rendering
- Automatic generation of saw lists, purchase lists and NC codes
- 3D visualization that can be shared directly with customers
In the manufacturing industry—and certainly in furniture and interior design—it’s important that your software not only provides beautiful visualizations but also makes the transition to production seamless. A visualization tool that’s disconnected from your production process ultimately takes more time than it saves.
How do you convert a custom kitchen into a 3D model?
You convert a custom kitchen into a 3D model by starting with the customer’s room dimensions, then building the kitchen layout as a parametric 3D model, and finally defining each component (cabinets, drawers, doors, countertops) individually with the correct dimensions and connections. This process is fastest when you work with a library of standard components that you can flexibly customize.
Step 1: Start with the space and the layout
Enter the exact dimensions of the kitchen space as the base area. Determine the layout (straight, L-shaped, U-shaped, or island kitchen) and position the main elements, such as cabinets, appliances, and the countertop. This immediately gives the customer a clear picture of the spatial layout.
Step 2: Build the parts parametrically
Add each kitchen element as a separate component with adjustable parameters. These include cabinet width, height, depth, door type, and hinge placement. Working parametrically means you can easily adjust a single dimension later on without having to rebuild the entire model. This is essential for custom work, where every kitchen is unique.
What are the best ways to visualize materials and finishes?
The best way to visualize materials and finishes in a 3D kitchen model is to use realistic texture mapping, in which you apply wood grain, lacquer, stone veneer, or metal surfaces as digital materials to the model components. The more detailed the textures, the more convincing the presentation will be for the customer.
Practical tips for effective material visualization:
- Use vendor textures: Many material manufacturers offer digital texture files that you can import directly into your model for an accurate rendering.
- Be mindful of lighting: Materials such as high-gloss lacquer or natural stone look very different depending on the light source. Adjust the lighting in your visualization to match the customer’s actual situation.
- Display alternatives side by side: Create variations of the same model with different finishes so that the customer can easily compare them without you having to recreate the entire design.
- Color and contrast: Deliberately combine light and dark elements, because a visualization that surprises the customer with an attractive combination increases the likelihood of a quick decision.
Keep in mind that a client doesn’t read technical drawings, but can understand an evocative visualization. So invest in the visual quality of your presentation materials.
How do you create a compelling client presentation?
A compelling customer presentation of a custom kitchen combines a clear 3D view from multiple angles, a straightforward explanation of the choices made, and the ability to demonstrate live adjustments. You don’t just win customers over with a beautiful image—you win them over by giving them a sense of control over the final result.
Here’s how to build a strong presentation:
- Present the product from the customer’s perspective: Show the 3D model from eye level, not just from above. A perspective that the customer recognizes as their own kitchen space builds trust.
- Briefly explain the design choices: Explain why certain dimensions or layouts were chosen. This shows that you’ve put thought into the design and aren’t just presenting a standard design.
- Use the 3D model as a conversation tool: Rotate the model, zoom in on details, and adjust a color or dimension on the spot if desired. This turns the presentation into a dialogue rather than a monologue.
- End with a clear next step: Give the customer a concrete offer or a deadline for making a decision. A visualization without a follow-up action loses its impact.
Customers in the interior design industry are used to seeing beautiful images, but they appreciate it when a designer or salesperson actively involves them in the process. Your 3D model is the perfect tool for that.
How do you quickly incorporate last-minute changes into the 3D design?
You can quickly incorporate last-minute changes into a 3D kitchen design by working with parametric models, where adjusting a single value automatically updates the rest of the model. Traditional CAD systems with fixed history structures make this difficult, but more modern approaches allow you to make adjustments freely without destabilizing the model.
Specific strategies for implementing changes efficiently:
- Work with parametric relationships: Link dimensions so that a change in the width of a cabinet automatically adjusts the adjacent elements.
- Use component libraries: Save frequently used cabinet types, door handles, and countertop profiles as reusable components. This allows you to quickly switch between variants without having to start over.
- Avoid unnecessary dependencies: The simpler the model structure, the faster you can make adjustments. Complex history structures significantly slow down the adjustment process.
- Test changes live during the presentation: If your software allows it, make changes right there in front of the client. This builds trust and speeds up the decision-making process.
In practice, the speed with which you can respond to a client’s request for changes is a key competitive advantage. Those who can make adjustments on the spot and immediately display a new visualization will close a deal faster than those who call the client back a week later with a revised design.
How IronCAD Helps with the 3D Visualization of a Custom Kitchen
IronCAD was specifically developed for situations like these: customization, speed, and adaptability—all in one package. For companies in the furniture and interior design industries, IronCAD offers a direct solution to each of the challenges discussed in this article. These are the specific benefits:
- Intuitive 3D design without complex history structures, so you can freely make adjustments at any point in the design process
- Parametric modeling that processes last-minute changes in seconds, even during a client presentation
- Realistic rendering of materials and textures for compelling visualizations that clients can understand immediately
- Automated outputs such as cutting lists, purchase lists, and NC codes, so that your visualization immediately serves as the basis for production
- Easy to learn: new users are up and running within days, not after months of training
Would you like to see how IronCAD works for your specific situation in kitchen or interior design? Contact us for a no-obligation demonstration.