What steps do I need to take to turn a CAD design into a great presentation for a client?
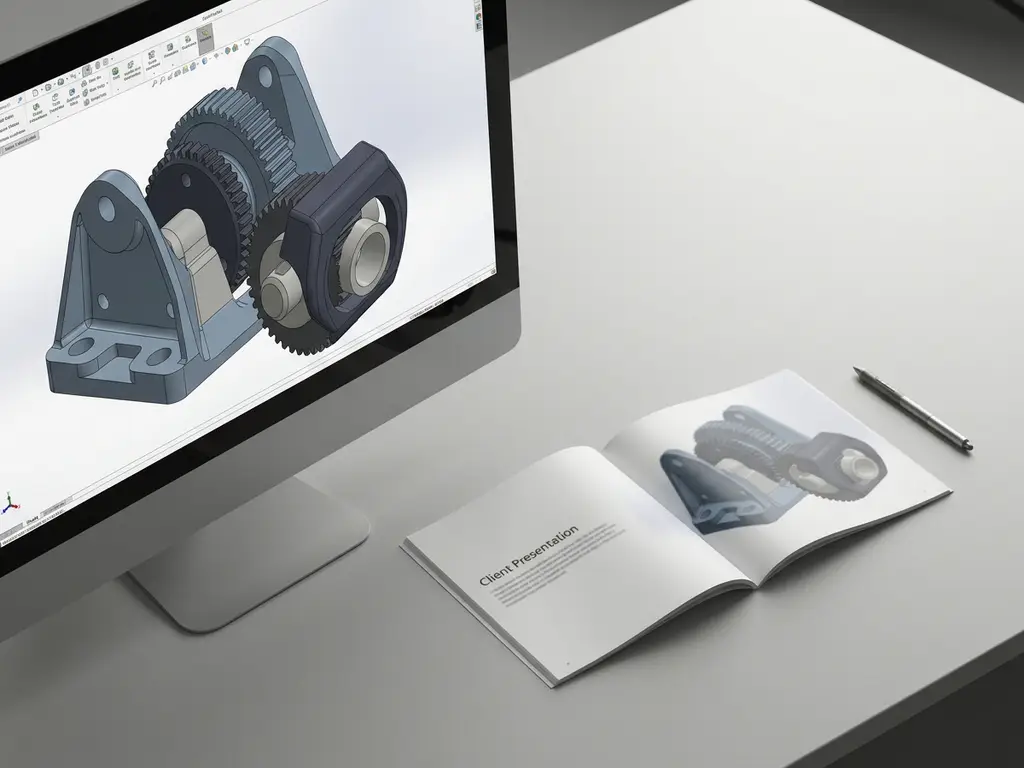
To turn a CAD design into a compelling client presentation, you need to convert your 3D model into visually appealing images, choose a clear structure, and translate technical details into benefits that the client can understand. It’s not about showing as much information as possible, but about presenting the right information at the right time. In this article, we answer the most frequently asked questions about this process, from choosing the right images to quickly incorporating feedback.
Which aspects of a CAD design are most impressive to customers?
The most impressive aspects of a CAD design for clients are realistic 3D renderings, clear dimensions, and visual details that show what the final product will look like in practice. Clients aren’t engineers and evaluate a design based on how it looks, not on its technical structure.
What appeals most to customers in a design are:
- Realistic renders or shaded views that show materials, colors, and textures
- Perspective and isometric views that immediately convey the spatial form
- General dimensions, so that the customer can understand the scale without technical knowledge
- Close-up shots of special joints, finishes, or unique components
- Contextual visualizations in which the product is placed in a space or environment
Customers want to be able to visualize the end result. The closer your presentation comes to that experience, the greater the chance of a quick agreement.
How do you convert a 3D CAD model into visually appealing images?
You can turn a 3D CAD model into visually appealing images by applying materials and textures, choosing the right lighting settings, and rendering the model from the most informative angles. Most modern CAD packages offer built-in rendering options that allow you to produce high-quality images without needing external software.
Here are a few practical steps to follow:
- Assign materials: Make sure each part has the correct material, such as wood, metal, plastic, or fabric. This immediately gives the model a realistic look.
- Setting up light sources: Use a combination of ambient light and directional light sources to create depth and shadows.
- Choosing a camera angle: Choose a perspective that best showcases the design. Avoid flat views unless you specifically want to show dimensions.
- Customize the background: A neutral or contextual background makes the design look more professional than a standard gray background.
- Export in high resolution: Save images in a format suitable for presentations, such as PNG or PDF.
Even a simple render with the right lighting settings makes a huge difference compared to a bare wireframe or technical drawing.
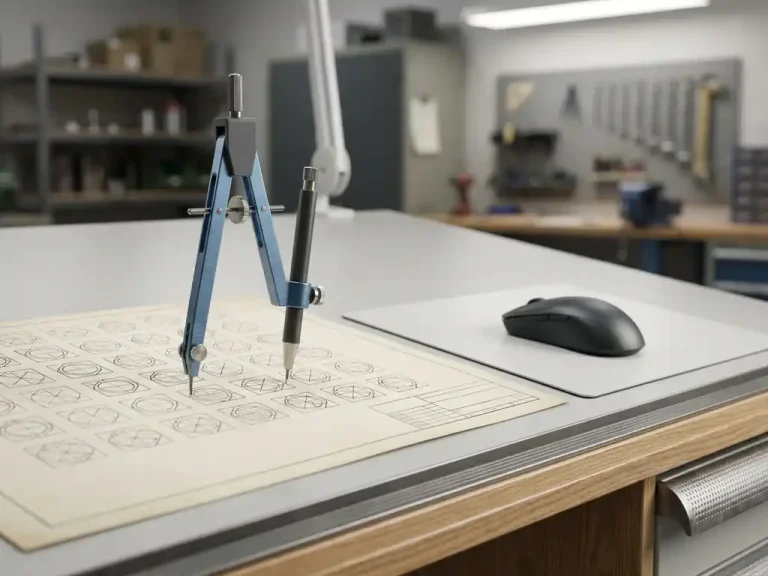
What is the difference between a technical drawing and a client presentation?
A technical drawing is intended for manufacturing and includes precise dimensions, tolerances, and material specifications. A customer presentation is intended for communication and shows what the final product looks like, feels like, and how it fits into the customer’s context. Both documents are derived from the same CAD model but serve completely different purposes.
The difference in practice:
- Technical drawing: Orthogonal views, dimension lines, tolerances, parts lists, and material codes. Intended for production staff or purchasers.
- Client Presentation: Realistic 3D images, atmospheric renders, minimal text, and a clear layout. Targeted at the decision-maker on the client side.
A common mistake is sending a technical drawing directly to the customer. This causes confusion and undermines confidence in your design. Always create a separate presentation document based on the same model.
What tools do you use to create a CAD presentation?
To create a CAD presentation, you typically use a combination of your CAD software to generate images and a presentation tool such as PowerPoint, Adobe InDesign, or a PDF editor for formatting and structure. Which combination works best depends on your workflow and the client’s expectations.
A practical toolset looks like this:
- CAD software: For generating renderings, views, and detailed shots directly from the 3D model
- PowerPoint or Keynote: For creating a clear presentation structure with text, images, and layout
- Adobe Acrobat or PDF export: For submitting a professional, non-editable final document
- Screenshot or 3D viewer: For interactive presentations where you can rotate and display the model in real time during a meeting
For companies that regularly create presentations, it’s worth setting up a standard template that reflects your corporate identity. This saves time and ensures a consistent look and feel for your clients. You might also want to explore the training options available to further professionalize this process.
How can you quickly incorporate customer feedback into a revised CAD design?
You can quickly incorporate customer feedback into a CAD design by using a flexible modeling approach that allows parts to be easily modified without having to rebuild the entire design. How quickly you can respond to changes depends heavily on how your model is structured.
Here are a few methods to speed up the customization process:
- Work with parametric or direct modeling: This allows you to quickly adjust dimensions and shapes without relying on a complex history tree.
- Use reusable components: You don’t have to keep redrawing standard parts like blocks or library elements.
- Record feedback in a structured way: Use a numbered feedback checklist so you can work through the changes systematically.
- Share interim versions digitally: Send an updated render or 3D view via email instead of waiting for the next in-person meeting.
Rapid iterations build customer trust. If you can present a revised version within a day, you’ll clearly stand out from competitors who take weeks to make revisions.
How IronCAD Helps Create Professional Client Presentations
IronCAD is specifically designed to minimize the gap between technical design and client communication. The software combines powerful 3D modeling with an intuitive interface, allowing you to quickly transition from design to presentation without the need for additional tools or cumbersome export steps.
Here’s what IronCAD specifically offers for your presentation process:
- Direct and parametric modeling in a single environment, allowing you to implement changes quickly based on customer feedback
- Built-in rendering and visualization options that let you generate attractive images directly from the model
- Flexible views and export options for both technical drawings and presentation images from the same model
- Support for industries such as furniture and interior design, where customization and rapid iterations are the norm
Would you like to see how IronCAD can take your design process and client presentations to the next level? Contact us, and we’d be happy to show you what’s possible.